


Wood is one of the absolutely most popular and profitable laser cutting and engraving materials. Its natural beauty and versatility make it perfect for creating personalized gifts, intricate art, custom signage, and unique home décor. Whether you’re a hobbyist, a small your business owner, or an innovative professional, understanding laser methods opens up new options. This guide covers everything you need to start, from understanding how laser machines work to choosing the right wood, preparing designs, and finishing projects for lasting quality. Learn about different laser types, safety tips, and how to avoid common issues like charring or uneven cuts. Discover which woods work best for detailed engravings or bold designs, how to optimize settings for clean results, and ways to add depth and dimension to your work. With the right tools and techniques, you can turn simple wood into stunning creations that impress and inspire. Explore the technique of laser woodworking now!
What is Laser Cutting and Engraving?
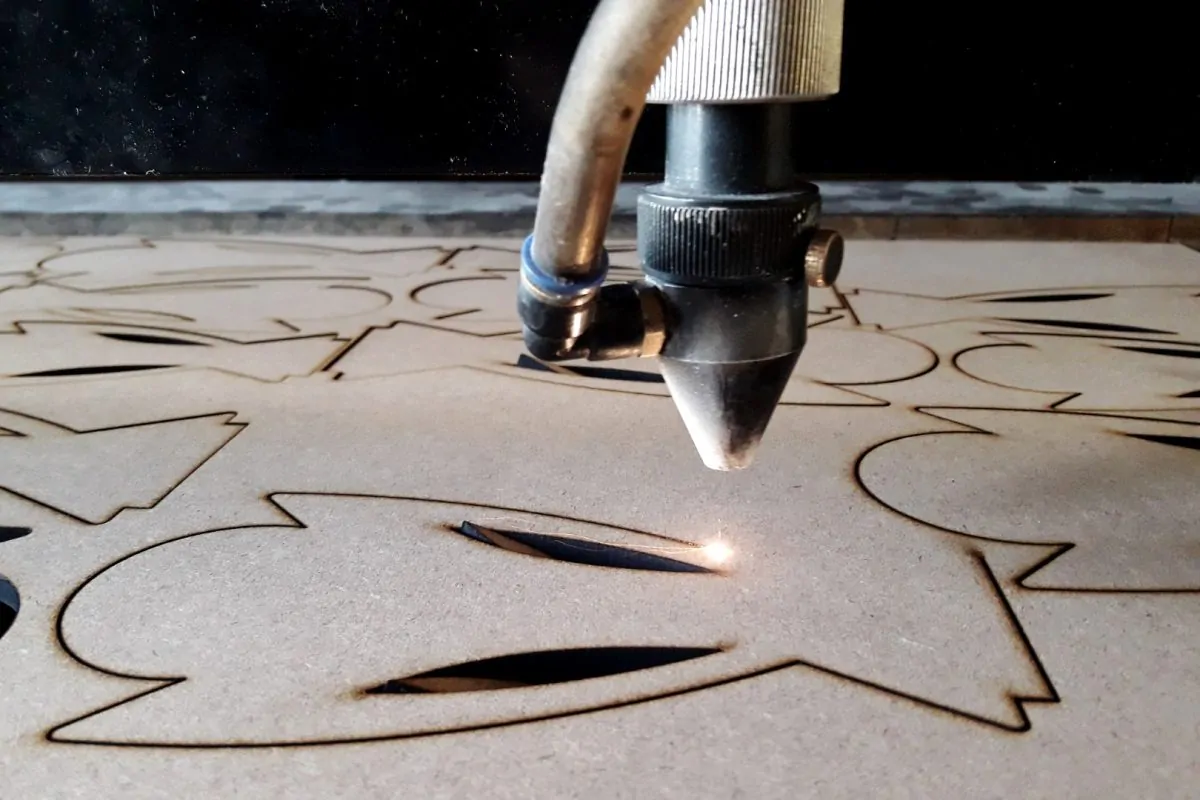
Laser cutting and engraving are advanced techniques that use a focused beam of light to either cut through or mark the surface of materials like wood. Laser cutting slices cleanly through the wood, allowing you to create precise shapes, patterns, or components. Laser engraving, on the other hand, removes a thin layer from the surface, leaving behind detailed designs, text, or images. Both processes are controlled by computer software, ensuring accuracy and repeatability for even the most complex designs.
Why Wood is a Favorite for Laser Projects
Wood’s natural beauty, versatility, and accessibility make it a top choice for laser cutting and engraving. Its unique grain, warmth, and range of colors allow for stunning results whether you’re crafting custom gifts, home décor, or business signage. Wood is also easy to source, affordable, and available in many types, each offering its own look and engraving characteristics. The popularity of wood in laser projects continues to grow as more people discover the creative and commercial potential of this craft.
How Laser Cutting and Engraving Machines Work
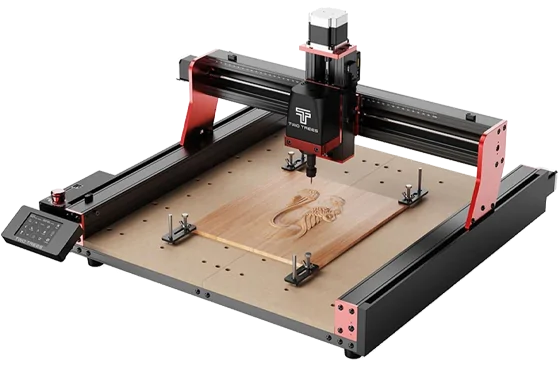
Laser machines use a high-powered beam of light, directed by mirrors and lenses, to cut or engrave wood. The beam’s intensity, speed, and focus are carefully controlled by software, allowing you to achieve everything from delicate etching to deep cuts. The process is non-contact, meaning the wood isn’t physically touched by any tool, which results in clean edges and minimal wear on equipment.
How to Laser Cut or Engrave Wood

Step 1: Select Designs Software and Arrange Your Design:
Start by selecting design software like CorelDRAW, Adobe Illustrator, or free tools like Inkscape. Create or import your design, ensuring it’s in vector format for cutting or high-contrast raster images for engraving. Change the size, spacing, and features to meet your project requirements.
Step 2: Set Up Your Laser Engraver:
Secure the wood on the machine’s workbed, ensuring it’s flat and level. Adjust the laser’s focus to the correct height using the machine’s manual or auto-focus feature. Get the power, speed, and frequency relating on the wood type and size.. For example, softwoods like basswood need lower power, while hardwoods like oak require higher settings.
Step 3: Start the Process:
Load your design into the machine’s software and preview the layout. Run a test on scrap wood to check settings and alignment. Once confirmed, start the laser. Monitor the process to ensure no issues like burning or misalignment, but avoid touching the machine during operation.
Step 4: Post-Processing:
After cutting or engraving, gently remove the wood and clean off dust or residue with a soft brush or cloth. Sand any rough edges if needed. Apply finishes like sealant, oil, or wax to protect the surface and enhance the design’s visibility. For intricate projects, use compressed air to clear debris from engraved grooves.
This straightforward process, from design to finished product, ensures professional results while keeping your projects safe and efficient. With practice, you’ll master settings for different woods and create stunning, precise pieces every time.
Types of Lasers Used
- CO₂ Lasers: Most typical for wood, with quick, clean cuts and fine engraving. Excellent for both pleasure and professional use.
- Diode Lasers: Affordable and compact, perfect for beginners or small tasks. Ideal for engraving and cutting thin wood.
- Fiber Lasers: Not advised for wood because they are made for metals and can burn or harm wood surfaces.
Safety Precautions
- Always use your laser machines in an area with good ventilation to prevent breathing fumes or smoke.
- Wear safety eyewear that are specifically made for your laser’s wavelength.
- Never leave the machine unattended while operating.
- Keep a fire extinguisher nearby and avoid using resin-rich or highly flammable woods.
Selecting the Suitable Wood for Laser Cutting and Engraving
Types of Wood Suitable for Laser Work
- Basswood: Soft, light-colored, and smooth-grained—ideal for detailed engraving and clean cuts.
- Birch: Versatile, with light color and fine grain, suitable for a variety of projects.
- Maple and Cherry: Hardwoods with consistent density, providing sharp, detailed engravings.
- Walnut and Oak: Offer rich colors and fine grain, great for intricate designs but may require more power to cut.
- Plywood: Widely used for its affordability and stability, but engraving quality depends on the glue and layers used.
Factors to Consider
- Density: Softer woods make engraving and cutting easier, however harder woods may require greater power levels.
- Grain Direction: Fine, uniform grain yields the best results. Avoid woods with knots or uneven grain for detailed work.
Get ready the wood for laser cutting and engraving
Surface Preparation and Cleaning
- Sand the wood surface to remove rough spots and create a smooth engraving area.
- Clean off dust and debris with a dry cloth or compressed air.
- For best results, test your settings on a scrap piece of the same wood before starting your main project.
Techniques to Avoid Charring and Burning
- Use masking tape or application tape to protect the wood surface from smoke stains and residue during engraving. Remove the tape after processing for a cleaner look.
- Adjust laser speed and power settings to minimize burning. The burning is frequently reduced with lower power and higher speeds.
- Ensure proper ventilation to quickly remove smoke and prevent it from settling on the wood.
Designing and Creating Artwork for Laser Cutting and Engraving Wood
Software Tools for Design
- Popular design programs include CorelDRAW, Adobe Illustrator, Inkscape, and specialized laser software.
- Designs should be created in vector format for cutting and in high-contrast raster images for engraving.
Tips for Optimizing Designs
- Avoid overlapping elements to prevent double engraving or burn marks.
- Use dithering patterns (like Jarvis or Stucki) for photo engraving to achieve smoother gradients and better detail.
- Preview your design in the software to check placement, size, and fit before starting the laser.
Techniques for Laser Cutting and Engraving Wood
Cutting Wood of Different Thicknesses and Densities
- Thin woods (like 1-3mm basswood or birch) cut easily and are perfect for intricate shapes and layered art.
- Thicker woods require multiple passes or higher-powered lasers. Always test settings to avoid excessive burning or incomplete cuts.
- For hardwoods, slow down the cutting speed and increase power for cleaner edges.
Engraving Intricate Details and Text
- Fine details and small writing should be viewed at high resolution options.
- Lighter woods like maple or basswood show detailed engravings best.
- Adjust focus and speed to get crisp lines without overburning the surface.
Adding Depth and Dimension
- Vary the power and speed settings to create multi-level engravings for a 3D effect.
- Combine cutting and engraving in a single project to add both depth and visual interest.
Applying Finishes and Sealants
- After engraving, gently brush or blow away dust from grooves and edges.
- Apply a clear sealant, oil, or wax to protect the wood and enhance its appearance. Choose finishes that won’t darken the engraved areas unless that’s the desired effect.
- For outdoor projects, use weather-resistant sealants to prevent damage from moisture or sun.
Cleaning and Maintenance
- Clean laser-cut and engraved wood with a soft, dry cloth. Avoid using water on unfinished wood.
- Store finished pieces in a dry environment to prevent warping or cracking.
- For items exposed to heavy use, reapply protective finishes as needed to maintain their beauty and durability.
How to Select the Best Wood Laser Engraver
- Assess Your Needs: Consider the size and type of projects you plan to create. Larger work areas and higher power are best for professional or high-volume work.
- Check Compatibility: Ensure the machine can handle your preferred woods and thicknesses.
- Ease of Use: Look for intuitive controls, good customer support, and compatibility with your design software.
- Safety Features: Prioritize machines with built-in safety mechanisms, emergency stops, and proper ventilation options.
- Budget: Balance initial investment with long-term value, factoring in maintenance and upgrade options.
Where to Buy the Best Wood Laser Engraver?
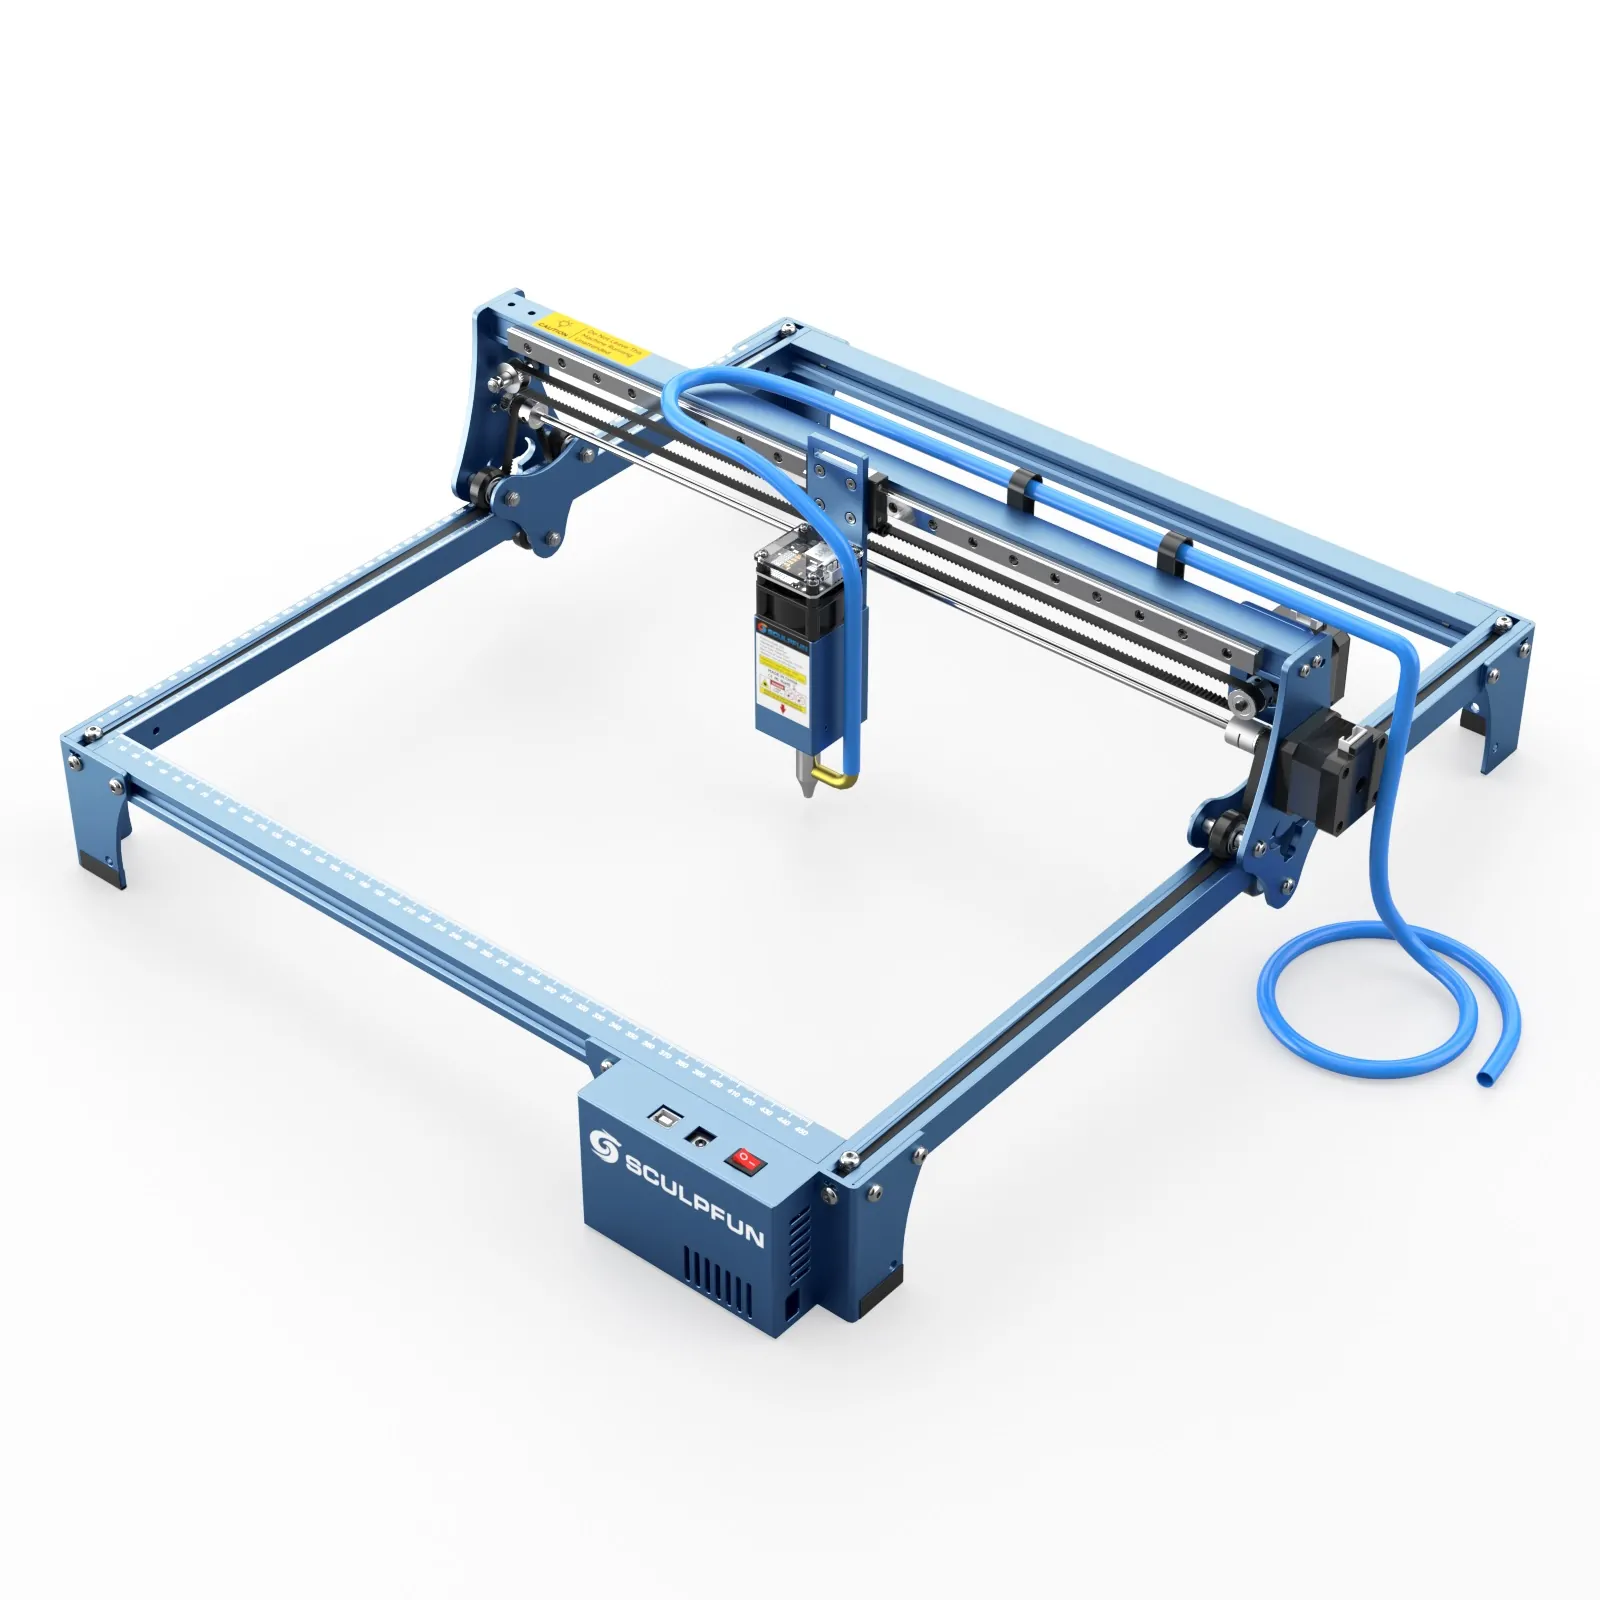
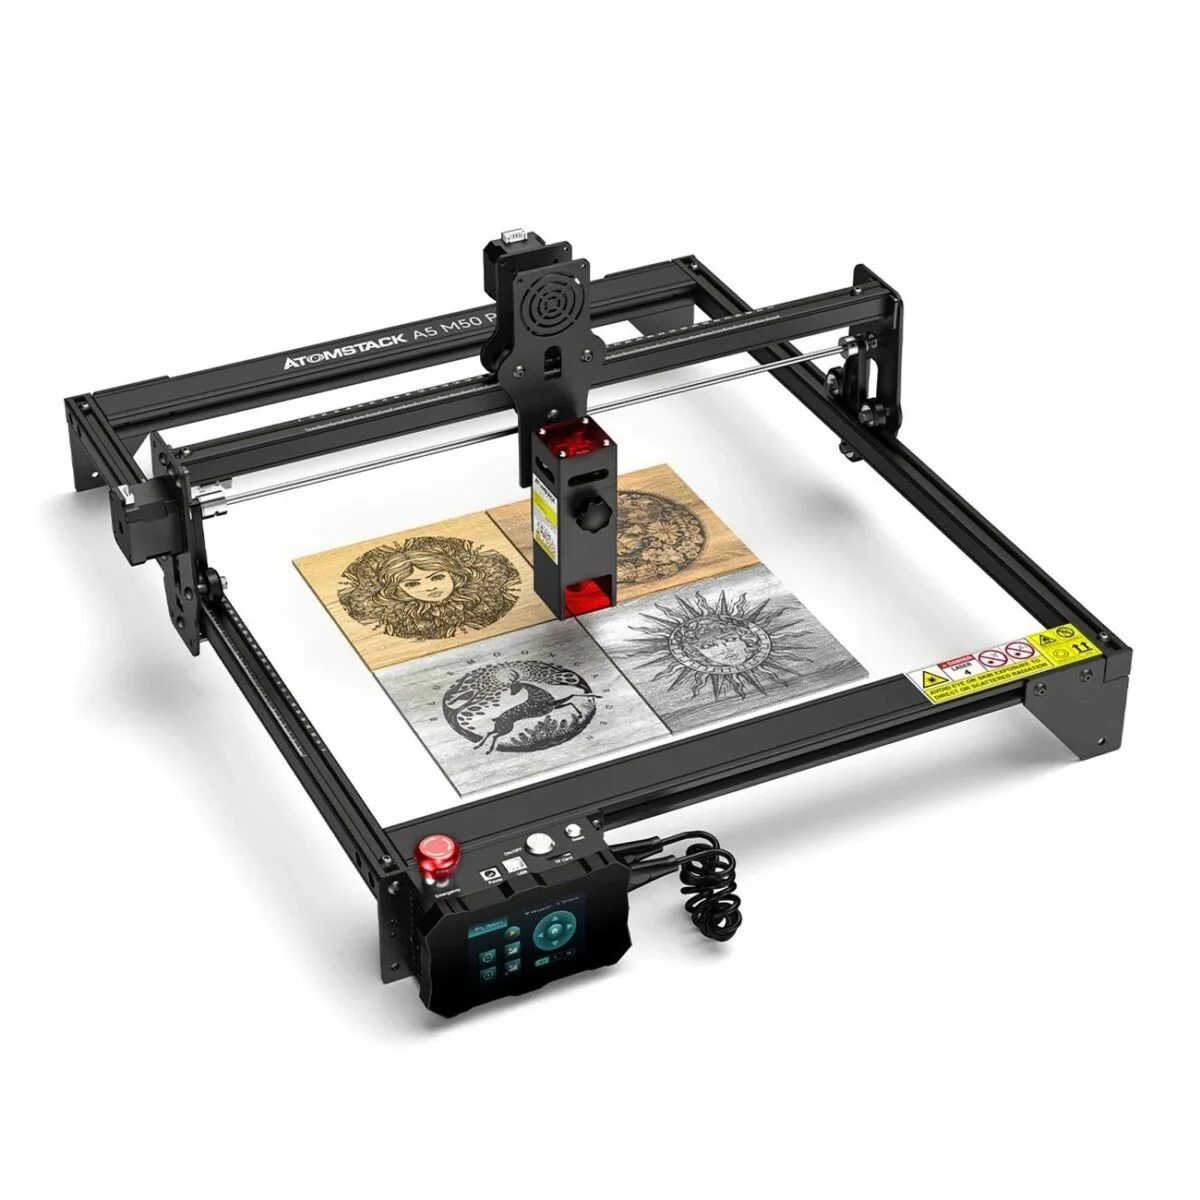
When looking to buy the best wood laser engraver, it’s important to choose a supplier that offers genuine products, technical support, and expert guidance. With so many possibilities, it might be difficult to choose the best machines for your requirements. Brands such as AtomStack and Sculpfun are well-known for their quality and features, but having a reliable partner makes all the difference. Choose Dhunikart for your wood laser engraving needs. Their expert team provides personalized recommendations, helps you select the perfect machine, and supports you through setup and use. Dhunikart offers the best selection of top-quality laser engravers, making it easy for beginners and professionals alike to get started confidently. Whether you want to create personalized gifts, signage, or intricate art, you’ll receive ongoing assistance and honest advice. For the best experience in laser cutting and engraving wood, Dhunikart is your go-to source for quality machines and dedicated customer care.
Conclusion
Laser cutting and engraving wood is a quick and fulfilling craft that combines technology and creativity. With the right machine, thoughtful design, and proper preparation, you can create everything from personalized gifts and intricate art to professional signage and home décor. The possibilities are nearly limitless, limited only by your imagination and willingness to experiment.
Whether you’re just starting or looking to expand your skills, now is the perfect time to explore this exciting field. For expert advice and the best selection of wood laser engravers, reach out to Dhunikart at +91 88666 64329 or support@dhunikart.in. Unleash your creativity and bring your wood projects to life with precision and style!
FAQ
1. Which types of wood are perfect for laser engraving?
Softwoods like basswood and birch are ideal for detailed engraving due to their smooth grain. Hardwoods like maple or oak work well but may need higher power. To reduce burning and smoke, avoid using resin-rich woods (such as pine).
2. Should I use a diode laser for wooden cutting?
Yes, diode lasers cut thin woods (up to 5mm) like plywood or basswood. For thicker materials, CO₂ lasers are better. Always adjust speed and power settings to prevent charring and ensure clean cuts.
3. How do I prevent burning or charring on wood?
Lower the laser’s power, increase speed, and use masking tape on the wood surface. To remove smoke and debris, ensure sufficient ventilation is in place. Test settings on scrap wood first for optimal results.
4. What is a suitable software for planning wood laser projects?
Use vector-based software like Adobe Illustrator, CorelDRAW, or free tools like Inkscape. For photo engraving, LightBurn or LaserGRBL helps adjust dithering and contrast for detailed results.
5.Is a CO2 or diode laser more suited to wood engraving?
CO₂ lasers handle thicker wood and faster engraving, ideal for professionals. Diode lasers are cost-effective and ideal for lightweight components and amateurs. Choose based on the project’s size and budget.
6. How do I clean laser-engraved wood?
Gently brush off dust with a soft cloth or compressed air. Avoid water on unfinished wood. Apply sealant or wax to protect the surface and enhance the design’s visibility.
7. Can I engrave painted or stained wood?
Yes, but test first. Lasers remove surface layers, so stained wood shows contrast in engraved areas. Avoid toxic finishes; use water-based stains or paints. Remove coatings if they produce harmful fumes.
8. What safety gear do I need for laser woodworking?
Wear laser-safe goggles, ensure workspace ventilation, and keep a fire extinguisher nearby. Avoid leaving the machine unattended. Use enclosures or exhaust fans to manage smoke and particles.
9. How do I add depth to laser-engraved wood?
Use multiple engraving passes at varying power levels. Adjust focus height slightly for shadow effects. Combine cutting and engraving for layered 3D designs. Sand lightly between passes for smoother results.
10. Where can I buy a reliable wood laser engraver?
Choose trusted suppliers like Dhunikart for genuine machines, expert advice, and post-purchase support. They offer the best options for all skill levels, ensuring you find the right engraver for your projects. Call +91 88666 64329 for guidance.